
Defending Against Online Raids in Rust: How to Fight Back While You're Inside
Online raid in Rust: how to fight back. Traps and turrets, peeks and layout, defense roles, counter-raid and loot evacuation. What to do when the enemy is already at your wall. Guide 2026.
9 min read · 1,677 words
Introduction
You don't see an offline raid: you come back, and the wall is gone. An online raid is different. You're inside, you have weapons, knowledge of the layout, and the first thirty seconds while raiders are still setting up their rocket launcher. In this scenario, the base is defended not by wall thickness, but by what the defender does.
The math is simple: most online raids fail not because the base turned out too expensive, but because shooting became more expensive for the raiders than breaking in. Explosives are finite, meds are finite, time is finite. Every raider you kill is one less armor kit and several more minutes on their timer. Your job isn't to "kill everyone" but to make the raid economically pointless.
This guide is about behavior, not honeycomb count. How to plan a base for combat, where to place traps, what to do in the first seconds, when to counter-attack, and how to get loot out if the base does fall.
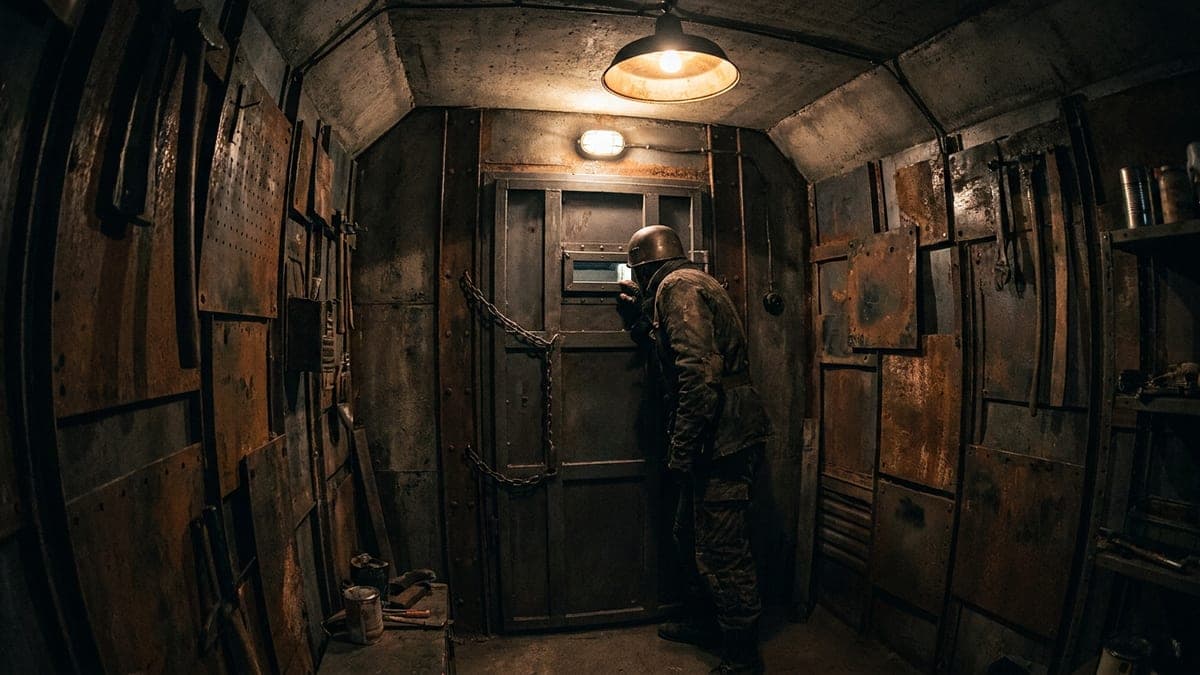
How an Online Raid Differs from an Offline One
The difference is that both sides gain a third resource — time under fire.
- The raider is in a hurry. Every minute is a risk that neighbors, allies, or just passersby will show up. An online raid with resistance almost always goes faster and rougher than a calm offline one.
- The raider pays double. They pay for explosives, ammo, and meds. Offline, they only pay for explosives.
- You know the map, they don't. Inside the base, you're shooting around familiar corners; they're shooting down unfamiliar corridors. This is the defender's biggest advantage, and it's easy to lose if the layout is built "to look nice" rather than "to be easy to defend."
Hence the core principle: drag out time and make them pay. Don't chase size; chase the number of spots where the raider has to stop and think.
Combat-Ready Layout: Peeks, Angles, and Loot Rooms
A base designed only for offline is a sealed box. A base designed for online too has three things.
Peeks. Gunports and windows from which you can shoot approaches to walls and the inner courtyard while exposing minimal hitbox. A good peek meets three conditions: it sees where the raider places explosives; it has a one-step retreat into cover; it isn't the only entrance to the room. Several peeks at different heights beat one perfect one — the raider can't hold all angles at once.
Two-level geometry. Give yourself the ability to shoot down into the inner courtyard and the corridor. A raider breaking a first-floor door under fire from the second floor loses momentum instantly.
Split loot rooms. Not one big room with boxes, but several small ones behind separate doors. This works against offline (more expensive to break) and online (while they're opening the second room, you're already in the third).
And separately — the TC should not be the first room behind the entrance. A captured TC means raiders can build inside your base: place ladders, wall you in, cut off routes. Losing the TC in an online raid is often worse than losing a couple of boxes.
Traps and Turrets: What Actually Works in Combat
Automation in an online fight doesn't win by killing; it wins by splitting attention. The raider has to think about you and the machinery at the same time.
- Auto Turret — the backbone of defense. Crafted at a tier 2 workbench from 10 HQM, a CCTV camera, and a targeting computer, draws 10 rW. Place it so it covers the approach you're holding with a peek: a raider coming out from under turret fire walks into yours, and vice versa.
- Shotgun Trap — short range, corridors, and passages behind a just-blown wall. It won't kill a heavy-armor fighter, but it will break their momentum and force them to heal.
- Flame Turret — not about damage, but territory. Fire forces a retreat and makes a passage impassable for a few seconds.
- HBHF sensors — your eyes. A sensor on the approaches gives a signal before you hear the explosion, and those are the seconds you need to get your armor on.
Key placement note: a turret visible from outside is a target. Hide turrets behind gunports and deep in corridors so they can't be picked off at range with a rifle. And keep backup power: a dead base is a base without defense. The core rule is simple: automation should sit where you physically can't get to in time.
The First 60 Seconds: Order of Actions
You heard an explosion or a sensor went off. Now — step by step, no improvising:
- Put on armor and grab a gun. The kit should be in one box by the sleeping bag, not scattered across the base. A pre-assembled "combat set" is the difference between fighting and dying in your underwear.
- Identify the direction. One explosion could be a probe. A series means the raid started. Listen for which side, and don't run toward the sound blindly.
- Don't open doors to the outside. The most common defender death is stepping out to see what's happening. Look through gunports and cameras.
- Count them. How many silhouettes, is there outside cover, is there a sniper on the nearby high ground. One raider means a counter-attack. Five means defense and evacuation.
- Call your people. If you're in a team or allied with neighbors — this is the moment to call everyone. An online raid breaks to numbers faster than anything else.
- Start moving loot. Even if you're confident in the defense: moving valuables to the far room or an external stash costs nothing while walls are intact.
What not to do: run around the base without purpose, burn your whole ammo stock in the first half-minute, or climb onto the roof blindly.
Counter-Attack: How a Raid Gets Broken
Raiders are more vulnerable than they look. They have heavy backpacks, they're standing in a spot you know, and often half the team is busy placing explosives, not fighting.
- Strike during placement. A player placing satchels or C4 isn't a fighter for a second. That's the best window for a peek.
- Switch peeks after every shot. A second shot from the same window is a gift to their sniper.
- Work the cover, not the breacher. A dead outside cover man collapses the whole push: the breachers are left blind.
- Go outside only when they're fewer. A flank and backstab works, but only if you're sure there's no second group behind you.
- Take their loot. A killed raider drops explosives. Picking up someone else's C4 mid-raid is both profit for you and a hit to their chances of continuing.
And remember raid cost: as soon as raiders realize they're paying an armor kit and meds for every meter with no end in sight, they leave. That's the win.
Loot Evacuation: When the Base Can't Be Saved
Sometimes an honest calculation says: there are six of them, they have rockets, the walls won't hold. Then the goal changes — not to hold the base, but to keep the ability to rebuild tomorrow.
- External stashes. Small stashes outside the base area, spread tens of meters apart. Set them up in advance — looking for a spot mid-raid is too late.
- Leave with a full backpack, not a full box. Components, HQM, blueprints, and explosives are the priority. Leave wood and stone.
- Don't leave in the obvious direction. Raiders almost always watch the nearest forest and road. Leave through water, through rocks, through a neighboring base.
- Spread sleeping bags in advance. If all respawn points are inside the base, you'll spawn straight into the raiders' hands. A couple of bags 300-500 meters out is the standard.
- Accept the loss of resources, but not blueprints. Resources farm in an hour; blueprint progress takes days.
FAQ
Should I even fight if there are more raiders?
Fight exactly until the point where every death costs you a kit and costs them nothing. If the trade is in your favor (you're killing them from safe peeks, they're burning explosives and meds), keep going. If you're dying once per blown wall, switch to evacuation mode: saved blueprints and components matter more than a heroic last firefight.
What matters more for repelling an online raid — turrets or layout?
Layout. A turret takes ten minutes to place, but wrong base geometry can't be fixed by anything: if you have no peeks on approaches, no second level, and no split rooms, any amount of metal just gets picked off at range. Turrets amplify a good layout; they don't replace it.
Where should I hide loot during a fight?
Priority order: first, the farthest room behind a separate door; then external stashes if there's a window to slip out. Never keep all loot in one box by the entrance. Store combat kits separately: armor and ammo should be where you spawn after death.
Do neighbors and allies help?
This is the most underrated defense tool. Raiders calculate risks, and a third party showing up in their rear almost always ends the raid: they can't simultaneously break a wall, hold you, and fight reinforcements. An agreement with neighbors to "shoot at foreign raids in our square" costs less than another layer of honeycomb.
Conclusion
An online raid is the only kind of raid where you have a say. Everything comes down to three things: a base you can shoot from, a pre-assembled combat kit, and a sober read of the moment when it's time to switch from defense to evacuation.
Set up peeks on approaches, spread loot across multiple rooms, hide turrets where they can't be picked off at range, keep armor by the sleeping bag, and dig a couple of stashes in the forest in advance. After that, any online raid on you becomes a bad deal for the attackers — and that's exactly how raids get broken.
Sources: Rust Wiki (wiki.facepunch.com), Corrosion Hour (turrets and traps guides), Rustafied, Rustly (Raid Guide), r/playrust (online raid defense and base design discussions).