
The Recycler in Rust: What to Recycle and What to Keep
The Recycler in Rust 2026: four recycler types and their efficiency, exact scrap output per component, where they are on the map, and which mistakes eat your loot.
8 min read · 1,374 words
Introduction
The Recycler is the most underrated machine in Rust. It doesn't shoot, build, or drop loot, but it's exactly what decides how much scrap you walk away with from a monument. Two players can loot the same crates, and one ends up with 300 scrap while the other gets 180 — simply because the first one knows what to feed the Recycler and what to carry home.
With the Power Trip update (August 2026), things got more complex: Recyclers now come in four types, and their efficiency depends on the island-wide power grid. The yellow one in a safe zone gives the least, the green one at a monument gives more, and the new red one at Power Plant gives the most — but only works when the grid is maxed out.
Below — how to tell Recyclers apart, exact output numbers for key components, a full list of where the machines are located, and five mistakes that regularly burn players' progress.
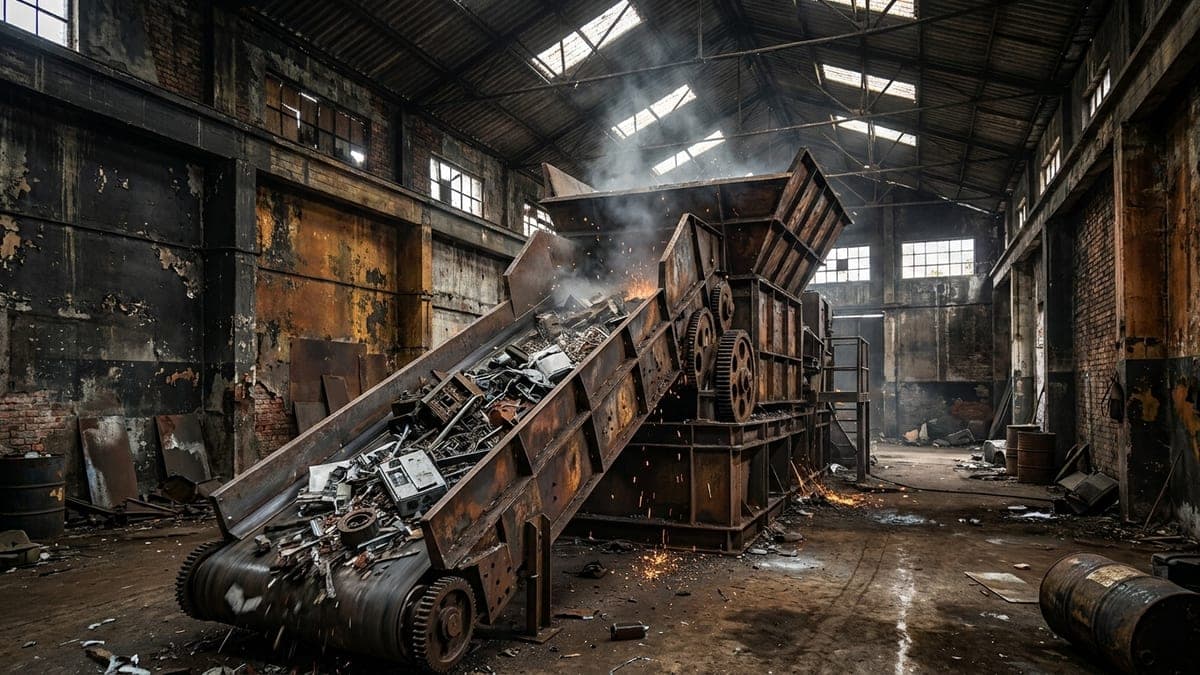
Four Recycler Types and Their Efficiency
| Type | Location | Material Return | Cycle |
|---|---|---|---|
| Yellow | Safe zones (Outpost, Bandit Camp, Fishing Village) | ~40% | Standard |
| Green | Regular monuments | 50%, rises to 60% with the power grid at stage 2 | 5 sec, 4.5 sec at max grid |
| Green (Powered) | Monuments with an active grid | ~60% | Accelerated |
| Red | Power Plant, green puzzle room | ~75% | 4 sec |
The difference between yellow and red is nearly double. This isn't "slightly better" — it's literally double the output from the same loot.
Important: the Recycler processes one item per cycle, not a whole stack. A full stack of 20 tech trash on a green Recycler takes one and a half to two minutes, during which you're standing still at a monument. Plan your time, not just your route.
What Gives What: Component Table
The numbers below are guaranteed output, not counting bonus HQM chances (most components have a bonus roll for an extra ingot).
| Component | Yellow | Green | Red |
|---|---|---|---|
| Tech Trash | 16 scrap | 20 scrap + 1 HQM | 30 scrap + 1 HQM |
| Rifle Body | 20 scrap + 1 HQM | 25 scrap + 1 HQM | 37 scrap + 2 HQM |
| Metal Spring | 8 scrap | 10 scrap + 1 HQM | 15 scrap + 1 HQM |
| Metal Pipe | 4 scrap | 5 scrap + 1 HQM | 7 scrap + 1 HQM |
| Gears | 8 scrap + 10 metal | 10 scrap + 12 metal | 15 scrap + 18 metal |
| Sheet Metal | 6 scrap + 80 metal | 8 scrap + 100 metal + 1 HQM | 12 scrap + 150 metal + 1 HQM |
The takeaways are obvious right away. Tech Trash is the best item per inventory slot in the entire game: it takes one slot and gives 20-30 scrap plus HQM. If you're running low on backpack space, always take tech trash, even if it means dropping something else.
Sheet Metal isn't a scrap component — it's a metal one: 100 metal fragments from a single piece on a green Recycler. That's faster than smelting ore. If you need metal for a base upgrade, recycling sheet metal beats hoarding it in a chest.
What to Always Recycle and What to Leave Alone
Straight into the Recycler without a second thought:
- Tech Trash — unless you're building something electronic right now;
- Rifle Body / SMG Body / Semi-Automatic Body — the densest scrap after tech trash;
- Sheet Metal — metal you'd otherwise have to mine with a pickaxe;
- Road Signs — you get more of these than you'll ever use on armor;
- spare weapons and tools — crafted items return roughly half their crafting cost. Waterpipes, revolvers, spare bows, duplicate tools — all of that is scrap;
- spare clothing and armor from monuments.
DO NOT recycle:
- Gears — they gate garage doors (2 gears), turrets, elevators. You never have enough;
- Metal Pipes — go into semi-autos, rockets, HV rockets. A pipe spent on 5 scrap is a rocket you won't have;
- Metal Springs — weapon bodies and traps;
- Targeting Computer and CCTV Camera — if you're planning turrets or a drone station, it's better to hold onto them;
- HQM-containing components if you're short on HQM — sometimes the component itself is worth more than the scrap it yields.
Simple rule: anything with a weapon body goes in the Recycler; anything with a mechanical part goes in the chest.
Where Recyclers Are Located
Recyclers are on almost every monument — there are only a handful of exceptions in 2026.
- Safe zones: Outpost, Bandit Camp, Fishing Village. Zero risk, but only ~40% return.
- Major monuments: Launch Site, Military Tunnels, Airfield, Power Plant, Water Treatment Plant, Train Yard, Sewer Branch, Satellite Dish, The Dome, Harbor, Junkyard, Giant Excavator, Arctic Research Base, Missile Silo, Ferry Terminal.
- Roadside: Oxum's Gas Station, Abandoned Supermarket, Mining Outpost, Lighthouse, Ranch, Large Barn, Stables. This is the best option for a newbie: a Recycler right there, almost no radiation, loot along the way.
- Water: Small Oil Rig, Large Oil Rig, Underwater Labs.
- Red Recycler: Power Plant, in the green puzzle room, available at the highest power grid stage.
Practical solo route: loot the roadside, recycle on the spot, carry home only scrap and what you need for crafting. Heading home with a full backpack of components means carrying extra weight and extra risk.
Five Mistakes That Cost You Scrap
- Recycling at Outpost out of habit. The yellow Recycler is the weakest in the game. If the monument you just cleared has its own Recycler, process there: the difference between 40% and 50-60% on a big haul is dozens of scrap.
- Feeding crafting components into the machine. Gears and pipes in the Recycler — the classic newbie move. Two days later you'll be hunting for a single gear for garage doors.
- Walking away from a running Recycler. It's public. Any player can walk up and take both the input and the output. Stand next to it and watch the output slots.
- Recycling weapons you don't have blueprints for. Before throwing a found gun into the machine, ask yourself if it's learned. The research table costs 120 scrap for an AK and requires the physical item — if the gun is spare, the blueprint is almost always worth more than the scrap.
- Going into a safe zone "hot." If you shot at a player, the hostility timer won't let you near the Recycler at Outpost. Plan to recycle at a monument — or wait.
FAQ
Can I place a Recycler at my base?
On vanilla servers — no, the Recycler can't be crafted or picked up. It's a monument-bound object. On modded servers, plugins often add this option, but it's not vanilla mechanics.
How long does recycling a full stack take?
The Recycler processes one item per cycle: about 5 seconds on a standard green, 4.5 with a powered grid, and 4 on red. A full stack of large components is one to two minutes of standing still. On a hot monument, that's noticeable time.
What's better: recycling weapons or researching them?
If the blueprint isn't learned — researching is almost always better: the blueprint lasts until wipe, and the scrap is spent once. Recycle duplicates and things you'll definitely never use: waterpipes, revolvers, homemade pistols.
Is it worth going to Power Plant for the red Recycler?
Only if you're already there or you have a very large haul. The red Recycler gives about 75% return — that's noticeable, but it's in the green puzzle room of a major radiation monument and only works at the highest power grid stage. For a routine run, a roadside green Recycler is both safer and faster.
Conclusion
The Recycler turns junk into progress, but only if you understand what you're feeding it. Tech trash and weapon bodies — into the machine. Gears, pipes, and springs — into the chest. Recycle at the monument, not at Outpost, stand next to the running machine, and never leave the output slots unattended.
These are the little things that add up to an extra thousand scrap over a wipe — meaning a workbench, a blueprint, and a couple of rockets your neighbor won't have.
Sources: rust.facepunch.com (Power Trip devblog), rustafied.com (Power Trip update breakdown), rusthelp.com (recycling tables for Tech Trash, Rifle Body, Metal Pipe, Metal Spring, Gears, Sheet Metal), rustly.com/rust-recyclers (recycler map), 2026.