
How to Kill the Bradley APC at Launch Site: Tactics and Cost
How to kill the Bradley APC in Rust 2026: 1000 HP, seven HV rockets, sulfur cost, Launch Site cover, solo tactics, and what's in the three APC crates after the kill.
8 min read · 1,424 words
Introduction
The Bradley APC is an armored personnel carrier that endlessly patrols the roads of Launch Site and guns down anything that moves. For most players, it's just a reason not to visit the best monument in the game. For those who figured it out, it's three elite loot crates every hour, including MLRS rockets, targeting computers, and explosives.
The good news: Bradley isn't about reflexes. It's a math problem with a known answer. It has 1000 HP, is immune to everything except explosive damage, and dies to seven HV rockets. Everything else is a question of where you fire those seven rockets from and where you hide between shots.
The bad news: the burning wreck of the Bradley is visible on the map, and half the server knows someone just spent resources and is standing next to the fattest loot on the map. So this guide covers not just how to kill it, but how to get away alive afterward.
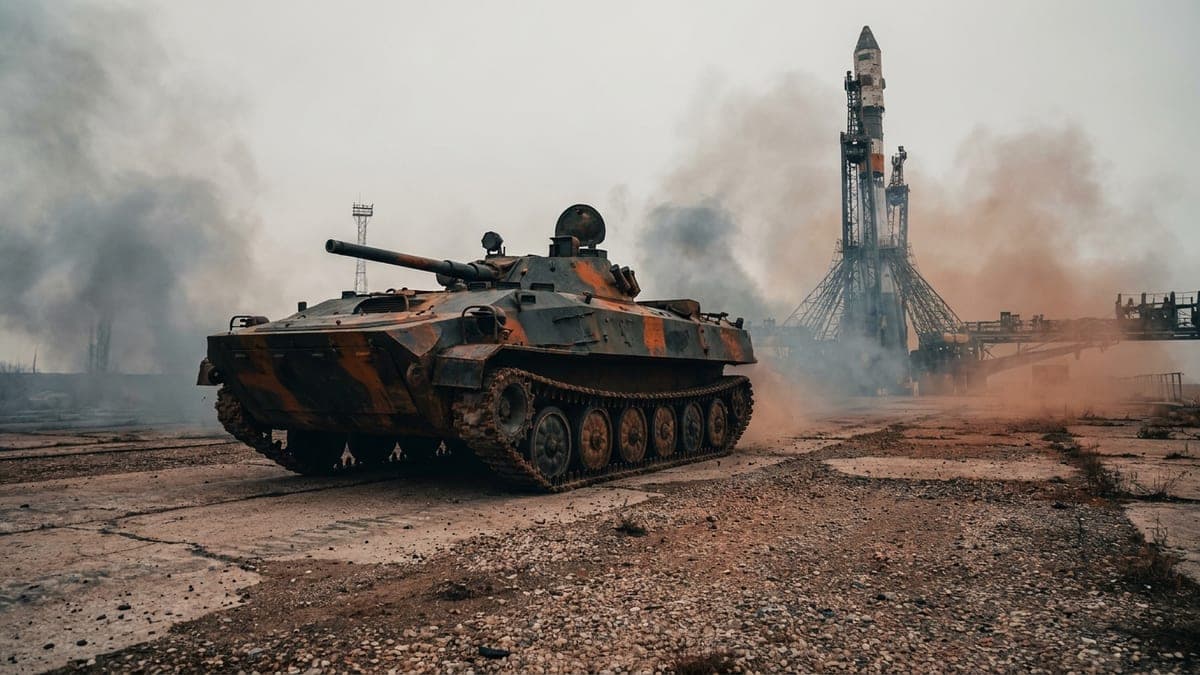
Why Shooting Bradley Is Useless
The first thing to accept: Bradley is immune to all damage types except explosive. Bullets, arrows, melee, fire — zero. You can dump your entire ammo reserve into it and not take a single point of health. The only "gunfire" exception is explosive 5.56 ammo, but you'd need over five hundred rounds, making that option purely theoretical.
What it has against you:
- Machine guns — up to 7 damage per hit, in short bursts with pauses between them. It's in those pauses that you step out to shoot.
- Cannon — shells dealing 25-30 damage with an armor-piercing effect. A direct hit on an unprotected player is almost guaranteed death.
- Patrol route. Bradley drives the roads of Launch Site on a fixed path and locks onto players in its line of sight. Once you tag it, it locks on and pursues.
And the sneakiest mechanic: regeneration. If Bradley takes no damage for 5 minutes, it heals back to full health in about a minute. That means "chip it today, finish it tomorrow" doesn't work. The attack has to be one continuous sequence.
What to Break It With and What It Costs
| Method | Amount | Approximate sulfur cost |
|---|---|---|
| HV rockets | 7 | ~1400 |
| F1 grenades | ~40 | ~2400 |
| C4 | 3 | ~6600 |
| Satchels | ~20 | ~9600 |
| Regular rockets | 11 | ~15,400 |
The conclusion is obvious: HV rockets are the only sensible option. Seven of them cost around 1400 sulfur, and they take 7 metal pipes and 700 gunpowder. That's cheaper than a single regular rocket per damage dealt and eleven times cheaper than killing Bradley with regular rockets.
Two caveats.
C4 is faster. Planting three C4 takes about half a minute; firing seven HV rockets takes about a minute and a half. If the monument is crowded and you're worried about getting killed mid-process, the speed difference can be worth more than the sulfur difference. But for a standard run, C4 is pure overpay.
F1 grenades are cheap but require getting close. Forty grenades under the APC's machine gun is a tactic for a group with a distraction player, not for solo. In sulfur they're second place, in risk — first.
Separately: always bring extras. Seven rockets is the calculation for seven hits. Plan for nine to ten; everyone misses.
Position and Cover at Launch Site
Launch Site is the biggest monument in the game, and almost all of its structures are concrete. That works in your favor: Bradley can't shoot through walls.
What an experienced player looks for:
- Roadside shacks and service rooms along the patrol route. They give you a chokepoint: you shoot when Bradley drives past, and dive inside when it swings its turret around.
- The roof of the recycler building. The classic position: from height you can see the route, and the roof edge works as cover — just step back one pace and the line of fire breaks.
- Terrain and elevation changes. Any mound you can crouch behind beats open ground.
The fight rhythm is the same as with the patrol helicopter: shot — retreat behind cover — pause in its burst — shot again. Listen to the machine gun: there's a window between bursts, and that's when you step out. Don't try to dump your whole load from one position in a row — that's how most people die.
Important about radiation: Launch Site is a radiation monument. You need to go in hazmat or a good armor set with radiation protection, or the fight will end not because of Bradley.
Solo Option: Step by Step
Killing Bradley solo is absolutely doable — it just requires preparation.
- Prep the rocket launcher and 9-10 HV rockets. Put them on your hotbar so you don't dig through your inventory under fire.
- Place a sleeping bag near the monument, but not inside Launch Site itself — a hundred to two hundred meters out, behind a hill. That's your ticket back if something goes wrong.
- Arrive early and find your position before Bradley spots you. Walk the route with your eyes: where you'll stand, where you'll step back, what's behind you.
- Start the attack only when you're ready to finish it. Remember the regeneration: a five-minute pause wipes all progress.
- Lead your shots. Bradley is moving, and the rocket doesn't travel instantly. Aim at the hull, slightly ahead of its path.
- Don't relax after the fourth or fifth hit — that's exactly when players step out to "finish it" and eat a shell to the face.
- Immediately after the kill, move off the open spot. The burning wreck itself deals damage, and the map marker is already up.
The main solo tip: don't combine killing Bradley with clearing the monument. Do one thing. Ammo, health, and attention aren't infinite, and Launch Site is the most crowded place on the map after Outpost.
Loot and What to Do After
A destroyed Bradley drops 3 APC Crates. It's one of the best drops in the game: you can find MLRS rockets, targeting computers, tech trash, armored doors, and high-tier weapons. The chance of finding C4 in Bradley's crates is around 20%.
Three rules for looting:
- The crates and wreck burn. You can't walk up right away — you'll burn. Let it burn out, take cover nearby, and watch the approaches.
- The marker is visible to everyone. The burning wreck is an invitation. Assume at least two people are heading your way.
- Respawn is one hour. Bradley returns roughly 60 minutes after death. If you've secured a base near Launch Site, that's steady income: one set of HV rockets every hour turns into three elite crates.
Don't leave with the loot the same way you came, and not along the open highway. Ideally, you have a pre-built hideout nearby with a sleeping bag and a chest where you can stash the haul without carrying it across half the map.
FAQ
How many rockets does Bradley need?
Seven HV rockets with accurate hits is the cheapest method, around 1400 sulfur. Regular rockets take 11, which is roughly eleven times more expensive in sulfur. Always bring 9-10 HV in case of misses.
Can you kill Bradley with an AK or sniper?
No. Bradley is immune to all damage types except explosive. The only "gunfire" exception is explosive 5.56 ammo, but you'd need over five hundred rounds, and in sulfur it's the worst option of all.
What happens if I don't finish it?
If Bradley takes no damage for five minutes, it fully heals its 1000 HP in about a minute. Progress resets. So the attack must be continuous: don't leave to "restock" mid-fight.
How often does Bradley respawn?
Roughly once an hour after being killed. That makes it the most predictable source of elite loot in the game: if you have a base near Launch Site and gunpowder production, you can farm it in cycles all wipe.
Conclusion
The Bradley APC isn't a boss — it's a routine task with a fixed price: 1000 HP, seven HV rockets, around 1400 sulfur. Everything separating you from three elite crates is the ability to pick a position behind concrete, shoot in the pauses between its bursts, and not abandon the attack halfway because of regeneration.
And most importantly: the fight doesn't end when Bradley explodes — it ends when you get the loot to your chest. The burning wreck is visible to everyone on the map, so plan your escape before the first shot.
Sources: rustly.com/raid/bradley-apc (explosive costs, regeneration, loot), tradeit.gg (HV rocket and HP calculations), corrosionhour.com (behavior, armament, Launch Site cover), wiki.rustclash.com (Bradley APC entity), 2025-2026.