
Oil Rig and Cargo Ship: How to Grab Loot from Rust's Water Monuments
How to loot Oil Rig and Cargo Ship in Rust: water approach, scientists, keycards, 15-minute hack, and heavies from Chinook. Practical guide to water monuments 2026.
9 min read · 1,706 words
Introduction
Water monuments are where the average player turns into a fully geared one. One successful Small Oil Rig run gets you weapons, meds, and a couple hundred scrap. One Cargo Ship — gets you a wipe's worth. That's why people fight over them: on land, you can skirt around a monument; on water, there's no skirting — everyone swims to the same spot.
The key difference between water and land monuments is that you can't just run away. From Airfield, you're in the forest in ten seconds. From a tower in the middle of the ocean, there's nowhere to go: water below, your boat parked at the tower's base where everyone can see it, and anyone who arrived after you knows exactly where you are. This changes the whole approach logic: first you think about how you'll leave, then how you'll get in.
Below is a breakdown of three targets: Small Oil Rig, Large Oil Rig, and Cargo Ship. What to bring, how many scientists are there, how the hackable crate works, and what to do when a stranger's RHIB shows up on the horizon.
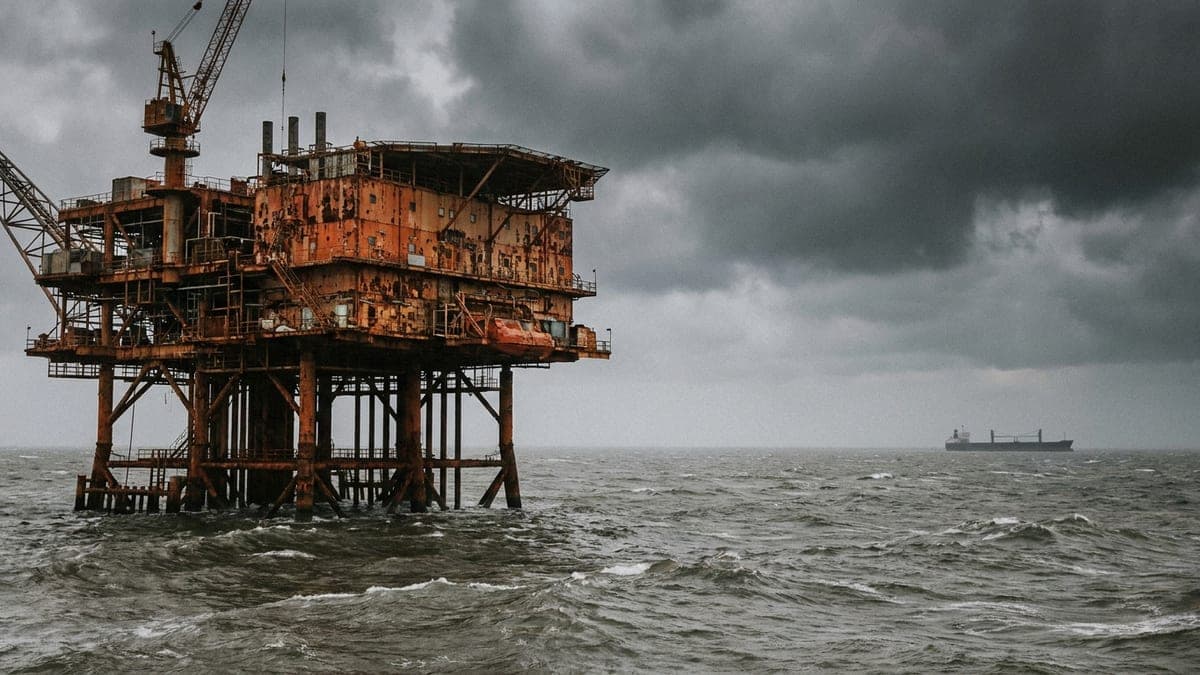
What to Bring and How to Get There
Paddling to the tower on a rowboat in your underwear is a donation to another player. Minimum viable setup:
- Mid-tier weapon or better. Thompson, SAR, MP5 — the working minimum. Scientists shoot tight groups and don't miss a stationary target.
- Armor with head coverage. Scientists love headshots. A helmet (ideally metal) saves more than it weighs.
- Medicals. Bandages plus at least a couple of syringes. There's no water or food in decent amounts on the tower.
- Keycards. For Small Oil Rig — blue (plus green for one of the rooms). For Large Oil Rig — the full set: green, blue, red.
- Transport. Rowboat, RHIB, submarine, minicopter, or scrap heli. Rowboat is the cheapest and the most visible option.
The approach to the tower goes up the side ladder. Those are the worst 10 seconds of the run: you're in a tight spot, hands busy on the ladder, and scientists above already see you. A practical trick — take out the one guarding the entry point from the boat first, then climb. Second option — fly in with a minicopter straight to the top deck and clear downward, not upward: you grab the high ground right away.
Don't leave your boat right at the ladder. It'll get stolen or sunk while you're inside.
Small Oil Rig: Your First Serious Run
Small Oil Rig is a four-level tower with roughly fifteen scientists. No radiation, no patrol helicopter overhead, no recycler on board — you'll have to haul scrap and components back to shore.
The clear order is simple: go bottom to top, clearing level by level, and don't push forward while there are still live ones behind you. Scientists respawn in just over twenty minutes, so a long run turns into a fight with already-respawned NPCs on the lower floors.
The main goal is the Locked Crate on the top level, accessed with the blue card. There's also a room for the green card one level down. Everything else is regular, military, and elite crates plus barrels; you'll rack up several dozen across the tower.
Small Oil Rig is genuinely soloable with a decent gun. That's why it's the best mid-game monument: the entry bar is a blue card and a boat, and the payoff is weapon blueprints and components.
Large Oil Rig: 23 Scientists and the Red Card
The big tower has seven levels and around twenty-three scientists, spread very unevenly: the upper levels are denser than the lower ones. You need the full card set here: green opens containers on the third level, blue on the fourth, red opens the room on the sixth, where the hackable crate sits.
Soloing the big tower is doable, but it's slow and expensive on ammo. A reasonable minimum is two people: one holds the ladder and approaches, the other clears floors.
Treat Large Oil Rig not as a "run-by monument" but as a mini-operation: you have roughly twenty minutes before scientist respawn, fifteen minutes of hack timer, and an unknown amount of time before competitors show up.
The Hackable Crate: 15 Minutes That Get You Found
The mechanic is the same on both towers and Cargo Ship. You press the crate, and a 15-minute timer starts. On the tower, sirens go off, and about a minute later a Chinook (CH47) flies in and drops heavy scientists: around five on the small tower, around ten on the big one.
Heavy scientists aren't your regular blue NPCs. They're in heavy armor, take noticeably more hits (about five to the head vs. three for regulars), and carry LMGs and shotguns. Fighting them in the open on the deck is a bad idea. A working tactic is to pull them into narrow corridors and stairwells, where they come one at a time, and pop them in the head.
The timer's second effect is informational. Sirens and the heli are visible and audible from far away, and any player with a scope on shore knows: someone's on the tower, and in fifteen minutes they'll have good loot. So the right plan isn't "sit by the crate for 15 minutes" but clear the tower, start the hack, deal with the heavies, and hold the approaches in the last minutes — not the crate itself.
Loot from the hackable crate is the same pool as crates from the cargo heli: heavy weapons, large components, explosives. It's the single most valuable loot item on the monument, and it's what starts PvP in 90% of cases.
Cargo Ship: The Monument That Comes to You
Cargo Ship is a massive freighter that spawns every few hours, circles the map's ocean edge in about 45-50 minutes, and leaves. With the harbor update, the ship docks at Harbor and sits there for a while, and before departure it sounds its horn about a minute before leaving. It's the only monument you can board without any boat at all — just be at the harbor at the right moment.
Ways to get on board:
- Through the harbor, while the ship is docked. The cheapest and most crowded option.
- From a boat in open water — there's a switch on the hull that lowers a ramp; through doors you get into the hold.
- From the air — land a minicopter on the deck or parachute down. Fast, but loud.
On board, there's a dozen-plus scientists with shotguns, SMGs, and rifles, plus military and elite crates. The main targets are the hackable crates: the first is available almost immediately, several more spawn over the voyage, and each one is fifteen minutes of waiting and a horn blast heard across the area.
A unique feature of the ship is the containers with opening doors. You can hide in them, and others hide in them too. Check containers before you put your back to a row of iron boxes.
Competition: How Not to Give Loot Away
Rules that work the same on all three monuments:
- Be first or don't come at all. A second run on an already-cleared tower is a fight against a prepared enemy on his position.
- Hold the high ground. On the tower and the ship, whoever's on top wins. Ladders are one-way kill zones.
- Listen. The sound of a boat motor, ladder, or horn is the most honest intel. Sound carries far on water.
- Don't carry all the loot on you. Stash part of the haul in the boat as you go: dying in the last minute shouldn't zero everything out.
- Plan your exit in advance. Know where your transport is, how much fuel it has, and which way the shore is.
- Don't fight for the hack if you arrived late. Sometimes the right call is to clear the scientists below, grab the military crates, and sail off.
FAQ
Which keycard do I need for Oil Rig?
For Small Oil Rig, a blue card is enough — it opens the room with the hackable crate; a separate room one floor down opens with green. For Large Oil Rig, you need the full set: green, blue, and red, with red specifically opening the top room with the hackable crate.
How long does the crate hack take, and what happens after starting it?
The timer is 15 minutes. Right after starting, sirens go off, and about a minute later a Chinook flies in and drops heavy scientists: around five on the small tower, around ten on the big one. All that time, everyone looking at the monument knows about your run.
Can I solo Oil Rig?
Small Oil Rig — yes, with decent weapons, a helmet, and a supply of meds, it's a standard solo run. Large Oil Rig solo is technically possible but costly: 23 scientists, three card levels, and a dozen heavies during the hack. With two people, it's noticeably cheaper on ammo and nerves.
How do I know when Cargo Ship is about to leave?
The ship sounds its horn about a minute before departing the harbor, and overall it stays on the map for around 45-50 minutes from spawn. If you start a hack when the ship's already been underway for a while, you risk waiting out the 15-minute timer in the middle of the ocean and having to swim back.
Conclusion
Water monuments aren't "just another monument" — they're a separate format: a long trip, no quick retreat, and a public timer that invites competitors. Small Oil Rig is the best entry point into mid-game: a blue card, a boat, and a mid-tier gun pay off completely. Large Oil Rig and Cargo Ship require a team or very solid preparation, but they hand out loot on par with heli crates.
The main rule: count not just the loot, but the way back. A player who cleared the tower and drowned with a full inventory because someone stole his boat lost more than the one who never sailed out at all.
Sources: Rust Wiki (wiki.facepunch.com), Corrosion Hour (guides on Small Oil Rig, Large Oil Rig, Air Wolf), Rustafied, Rustly, and Rust Fandom Wiki (Cargo Ship, Harbor), patch notes at rust.facepunch.com.